ACEIRT™ Fusion quickstart
Get to a first usable ACEIRT™ Fusion setup by launching a funnel page, capturing leads, scheduling appointments, and enabling payments and messaging.

Start here
To follow this quickstart, make sure you:
-
Have an active ACEIRT™ Fusion account
-
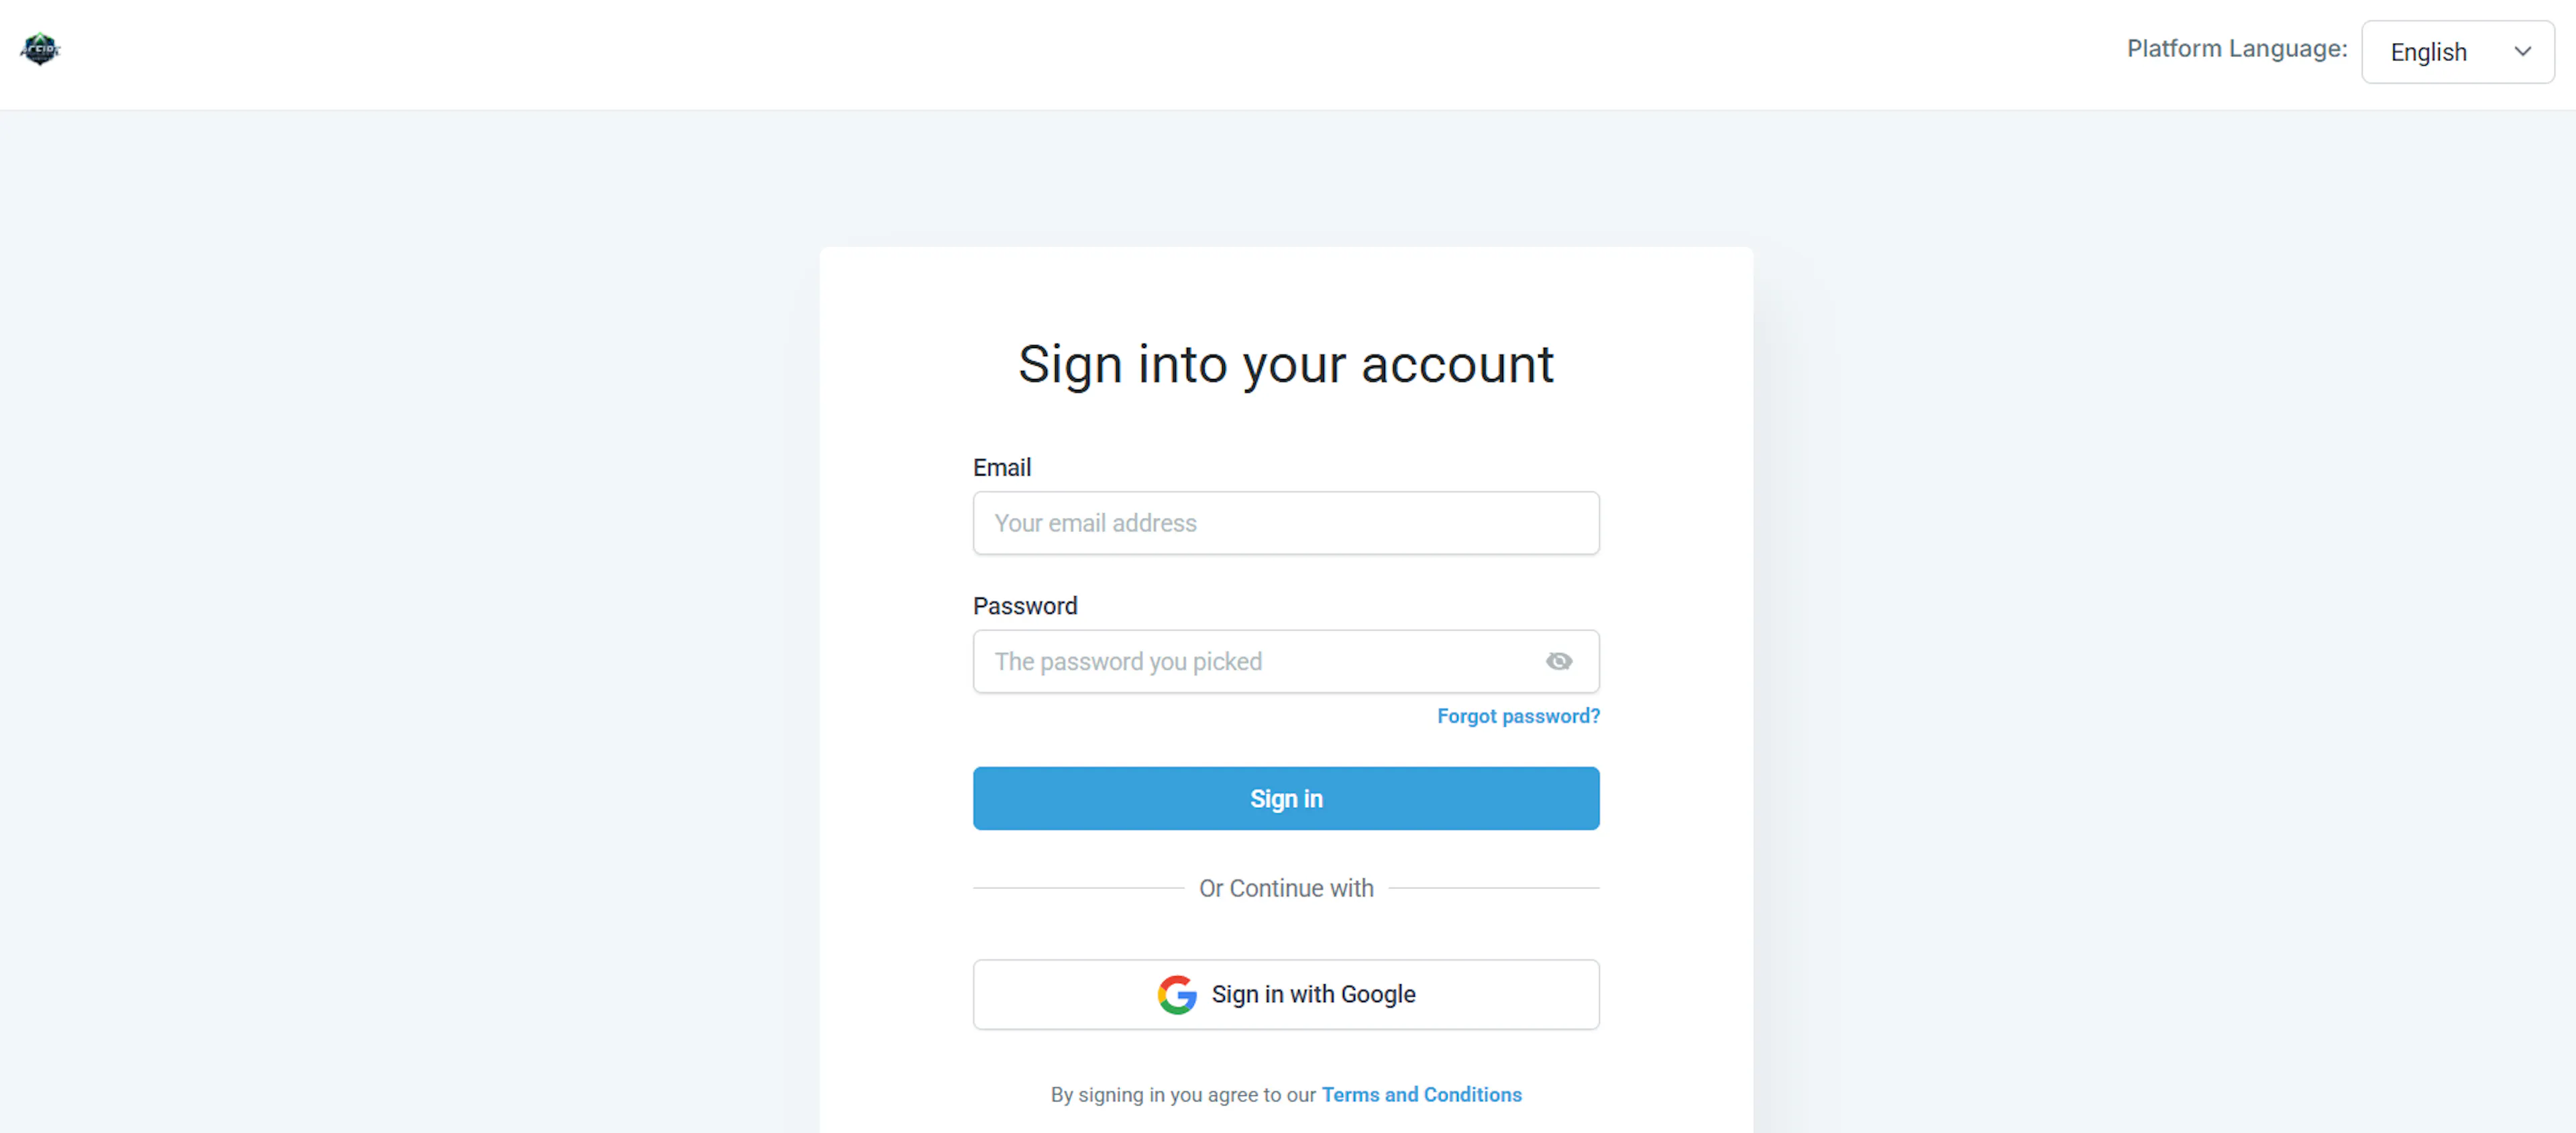
Can sign in to your workspace at https://app.aceirt.us
-
Have permission to edit sites, pipelines, calendars, and automations
Use these steps to go from a new ACEIRT™ Fusion account to a basic working setup that can collect leads, book appointments, send messages, and accept payments.
Install the ACEIRT™ Fusion Desktop App
Download the ACEIRT™ Fusion Desktop App version 0.1.8 for your operating system using the links below.

Download the universal macOS installer:
Download the Windows installer:
Choose the package that matches your distribution and architecture:
Set up your first Fusion workflow
Sign in and choose your workspace
-
Go to https://app.aceirt.us and sign in with your ACEIRT™ Fusion credentials.
-
If you belong to multiple workspaces, pick the workspace you want to use for this quickstart.
-
Confirm you land on the main dashboard, where you can access websites, calendars, pipelines, campaigns, and automations.
Create a simple website or funnel
-
Open the Websites & Funnels area and create a new funnel or site from a template.
-
Add a landing page section that clearly states your offer and includes a call to action.
-
Insert a form section so visitors can submit their name, email, and phone number.
-
Publish the funnel or site and copy the public URL so you can test it later.
Build a lead capture form or survey
-
Go to Forms & Survey Builder and create a new lead capture form that matches your funnel offer.
-
Add key fields such as full name, email, phone, and any qualifying questions you need.
-
Enable notifications so new submissions are logged in the CRM and visible in your Unified Inbox.
-
Connect the form to your funnel or website page if you did not add it directly in the previous step.
Connect your CRM pipeline
-
Open CRM pipelines & deals and select or create a pipeline that matches your sales process.
-
Add basic stages, for example New Lead, Contacted, Qualified, and Won.
-
Set the form or funnel to create a deal in this pipeline for every new submission.
-
Verify that new test submissions appear as deals in the correct stage.
Configure a calendar and appointments
-
Go to Calendars & Appointments and create a new calendar for discovery calls or consultations.
-
Set your availability, meeting duration, and any buffer times between appointments.
-
Connect the calendar to your funnel or confirmation page so new leads can book right after submitting the form.
-
Book a test appointment to confirm you receive the calendar invite and see it on the schedule.
Enable invoices and payments
-
Open Invoices & Payments and add at least one product, package, or service you want to sell.
-
Connect your preferred payment processor if you have not already done so.
-
Create a simple checkout link or invoice template using your product.
-
Add the checkout link to your funnel or send a test invoice to verify payments complete successfully.
Set up basic SMS and email follow-up
-
Go to SMS & Email Marketing and create a simple follow-up campaign for new leads.
-
Write at least one welcome email and one SMS reminder that confirm the lead’s submission or booking.
-
In Workflows & Automations, build a workflow that triggers when a new form is submitted or appointment is booked.
-
Add actions to send your email and SMS, then run a test submission to confirm both messages are delivered.
Connect your inbox and test the full flow
-
Open the Unified Inbox to see leads, conversations, and appointments in one place.
-
Submit the funnel form yourself, book a test appointment, and complete a small test payment if possible.
-
Confirm that the lead appears in the CRM pipeline, messages show in the inbox, and the appointment and payment records are created.
-
Adjust copy, form fields, or automation rules based on what you see from this test journey.
Next steps
Use these guides to deepen your setup after you complete the quickstart.